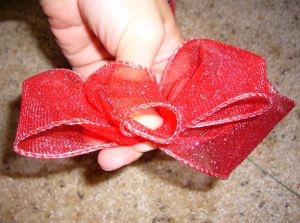
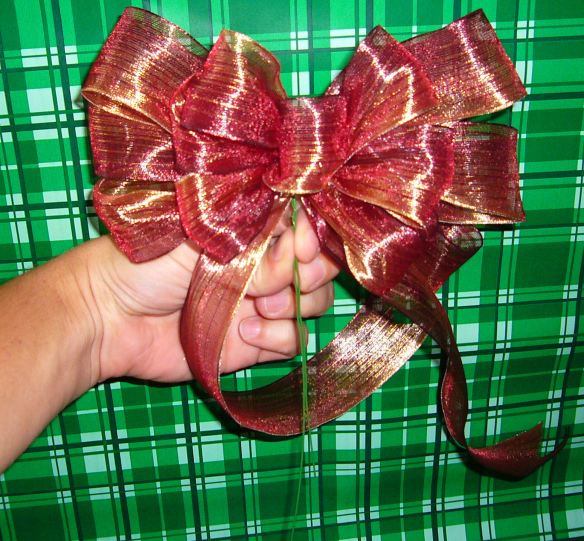
When I was 15, I accompanied my mother to work during Christmas break. My mother worked at a garden nursery. It was Christmas time and the place was DECKED out top to bottom with Christmas decorations. All over the trees and railings were these beautiful bows that my mom proudly told me she had made. She took me upstairs to the loft and showed me the tables full of ribbon, wire, and scissors. There were examples of bows in all shapes and sizes all over the place. She showed me how to make the bows and whenever a customer wanted one made to match the size of another, I would whip these gorgeous bows together in 5 minutes.
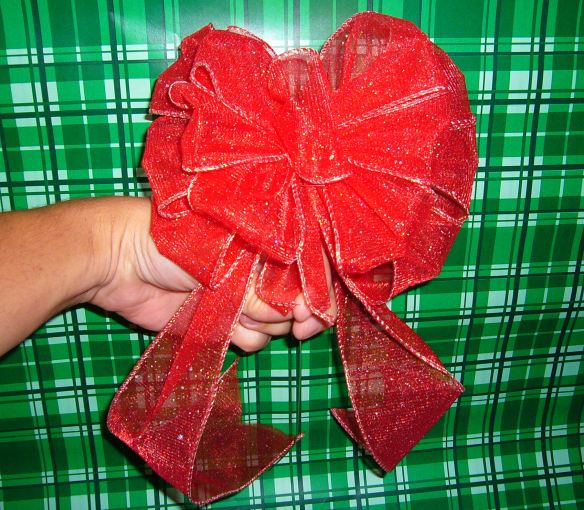
The most popular bow is the one I’m about to show you:
What you need:
Roll of ribbon, preferably with wire in the edges (best selection of ribbons can be found at most craft stores)
wire sticks (though I’ve used twist ties in a pinch)
scissors
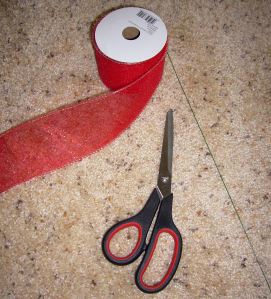
I bought the ribbon from Walmart (craft section)for $3.57 and the bag of wire (floral section) for $1.00 (for 30 pieces).
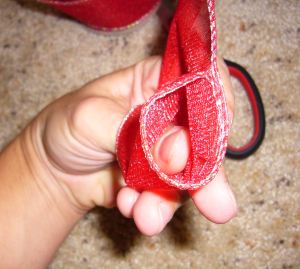
Step 1: Roll the end of the ribbon so the end is under your thumb and you have a circle and a half, as shown below.
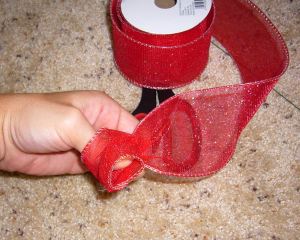
Step 2: Twist the tail to make the first loop
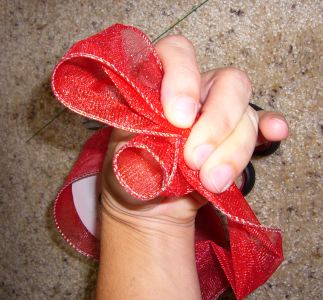
Step 3: Finish your first loop by twisting the ribbon in the center where your fingers pinch together to hold the bow in place. You will make your second loop of the same size, across from the first.
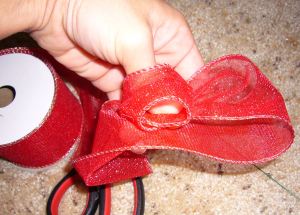
Step 3
Step 4: Make your second loop and twist the end again between your pinched fingers.
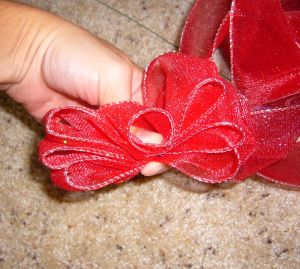
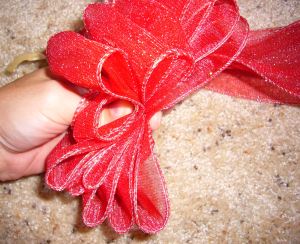
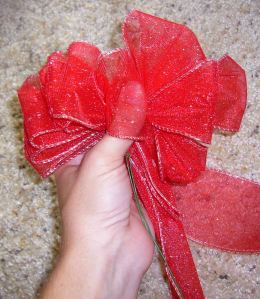
Step 5: Repeat this until you have 3 loops on one side. This will be your first tier.
Step 6: Make a fourth loop that is larger than the first 3.
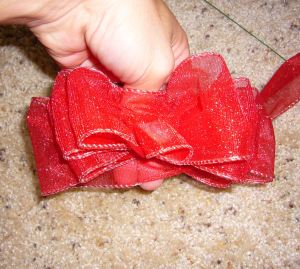
Step 7: Repeat steps 3 through 5 with the larger loops, completing the second tier.
Step 8: Take the tail and bring it up between your fingers and pinch it together with the rest of the ribbon. You will now have this short tail and a longer loop that will become two additional tails later.
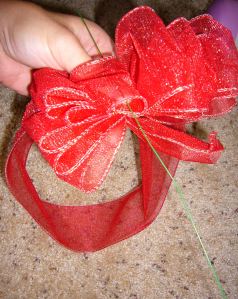
Step 9: Insert the wire into the center single loop. (The first one that you made.)
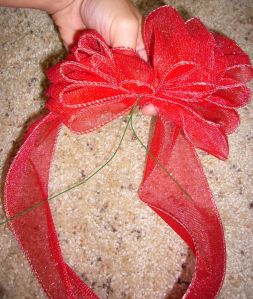
Step 10: Bend the wire and twist together tightly to hold the ribbon in place.
Step 11: Take the long looped tail and cut it in half so there is two tails and no longer a large loop.
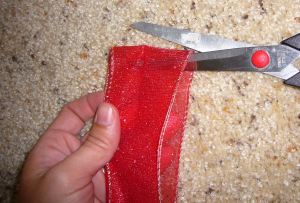
Step 12: Fold one tail in half.
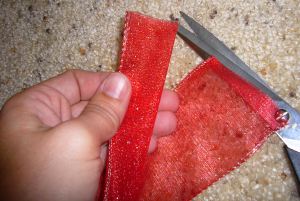
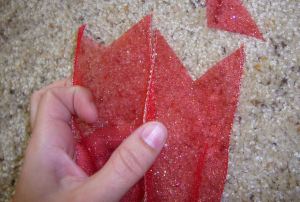
Step 13: Cut from the material side down to the wire end of the ribbon to make a “V”. Repeat with the other two tails. This will make your bow have a finished look.
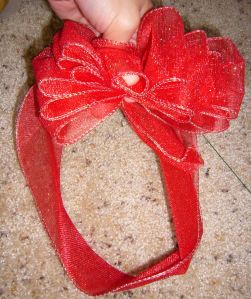
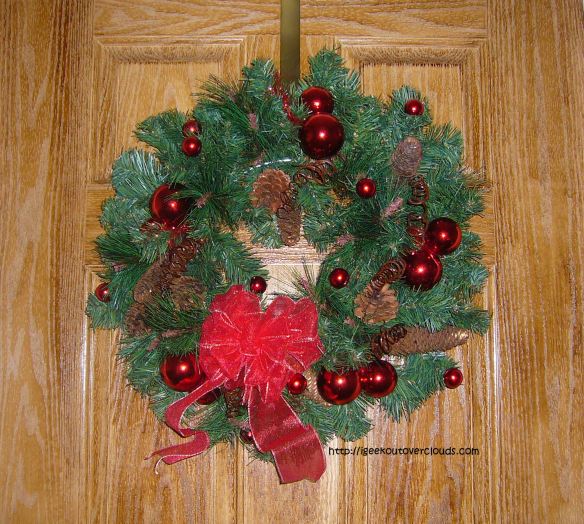
Step 14: Fluff and shape your bow to achieve it’s fullness as seen in the first photo. Having wire in your ribbon will help you manipulate the bow into a shape that stays put.
Step 15: Decorate with your bow by attaching it to a wreath or garland using the wire stick.
The best part about these bows is that you can store them in a box, crush them to fit in with the rest of your stored decorations and the next time you pull them out, you can reshape them and they will look like new!
While I used Christmas ribbon, you can make these bows for any occasion by using a different colored ribbon. I also made the following bow today but my photos didn’t turn out as clear as I had hoped.
